Getting Set Up
This first section will guide you through quick installation instructions, and provide some short “test” code you can run to verify that your Bokeh installation is working as expected.
Installing the Bokeh Library
The easiest way to install Bokeh and all of its necessary dependencies is
to use a package manager such as conda or pip. If you are using
Anaconda, you can install with conda by running the command:
conda install bokeh
at your command prompt. Otherwise, to install with pip, run the
command:
pip install bokeh
For full details, consult the Installation section of the Bokeh documentation.
Verifying your installation
The first check you can make is to make sure you can import bokeh and
verify bokeh.__version__ from a running python interpreter. If you
execute both of those lines in a python interpreter, the result should
look something like this:

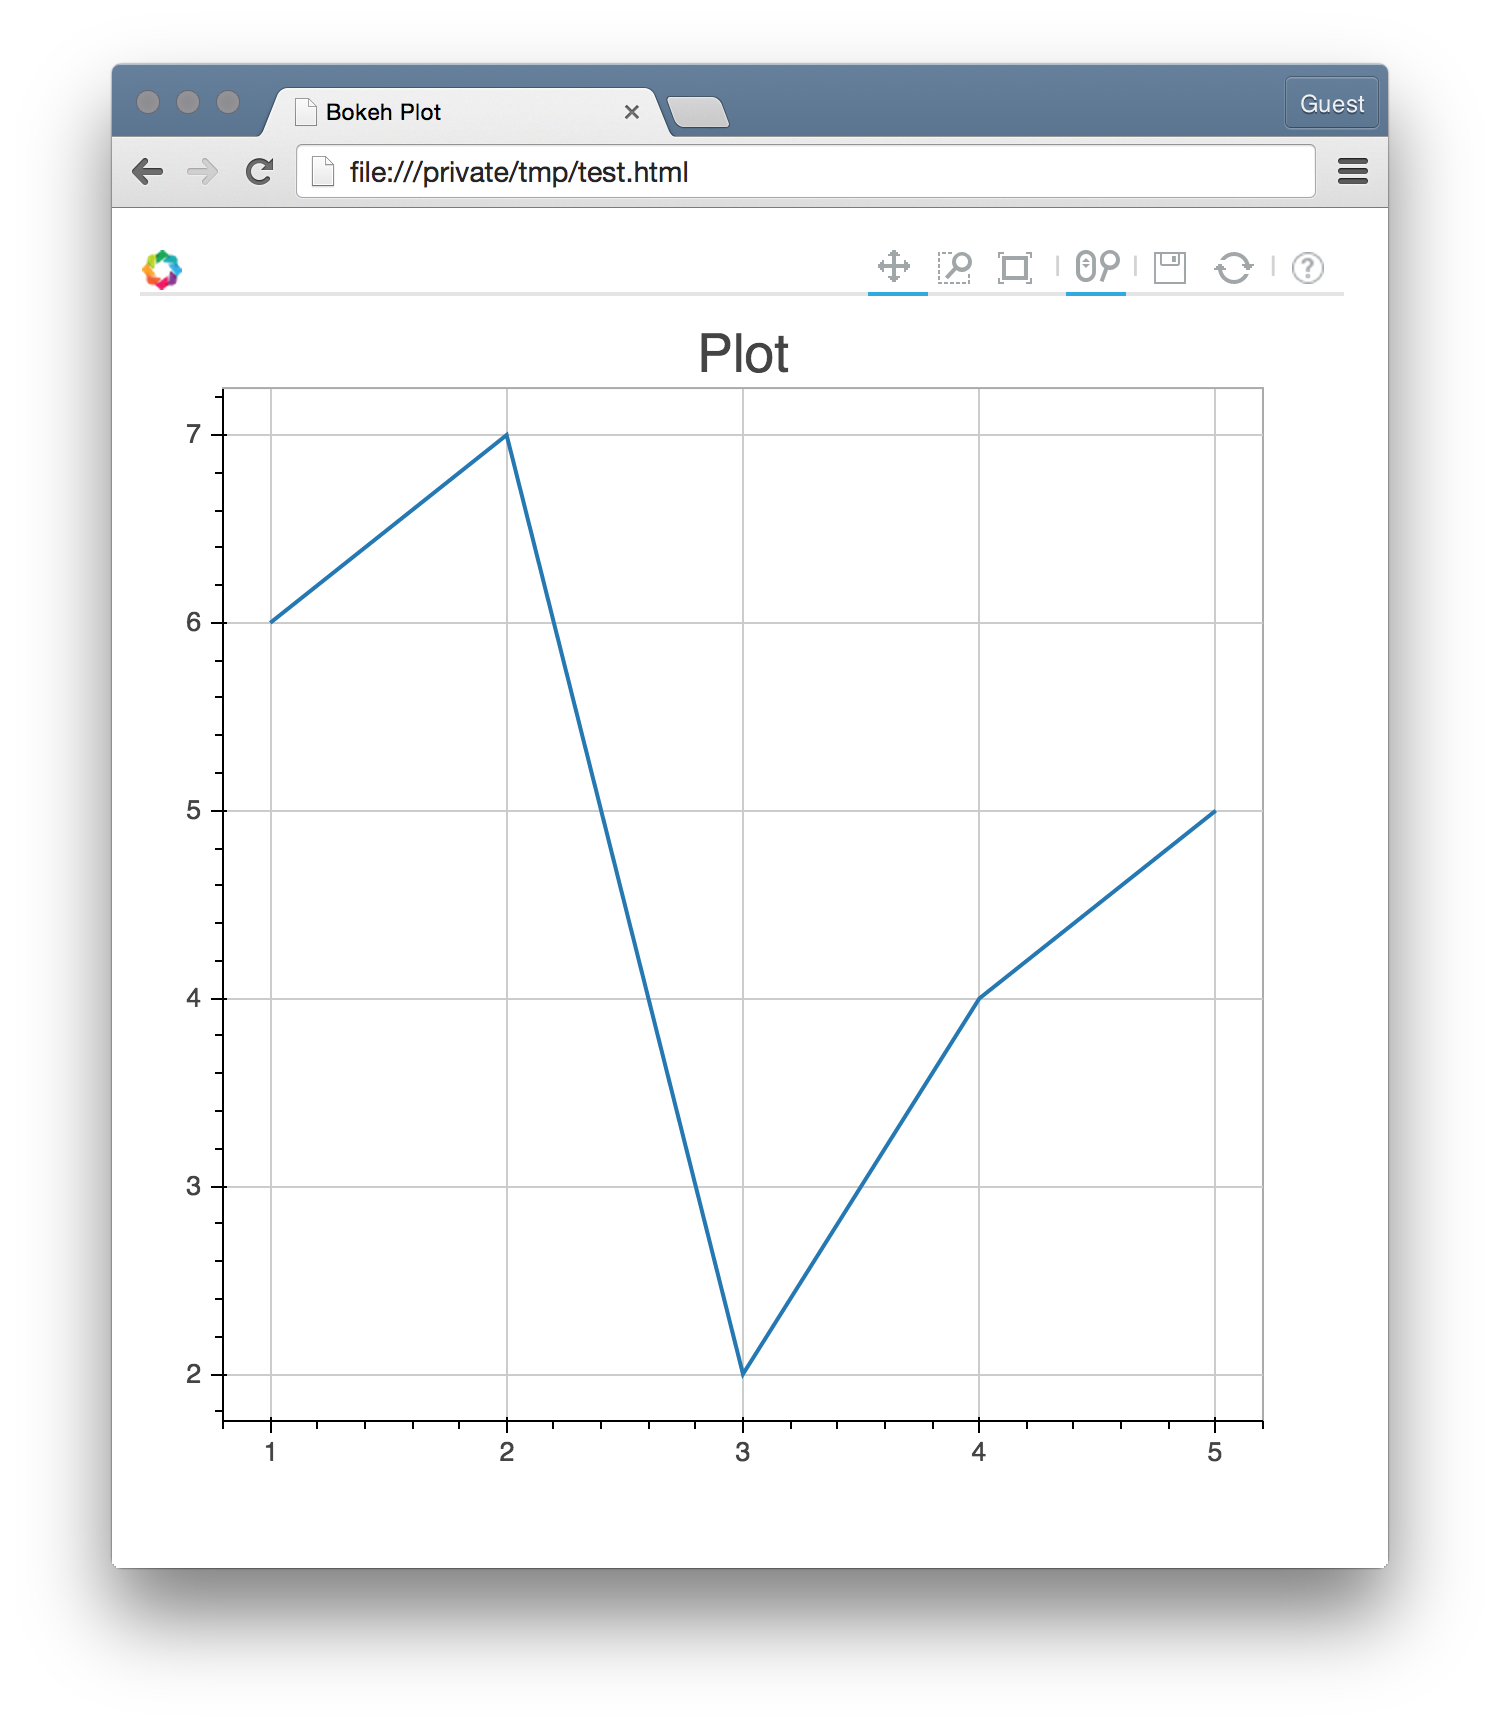
The next check you can make is to produce a very simple plot. Execute the following few lines of python code, either by copying them into a script and executing the script, or by running the lines by hand in a python interpreter:
from bokeh.plotting import figure, output_file, show
output_file("test.html")
p = figure()
p.line([1, 2, 3, 4, 5], [6, 7, 2, 4, 5], line_width=2)
show(p)
This should save a test.html file locally, and open a browser tab to
view the file. The result should look like this:

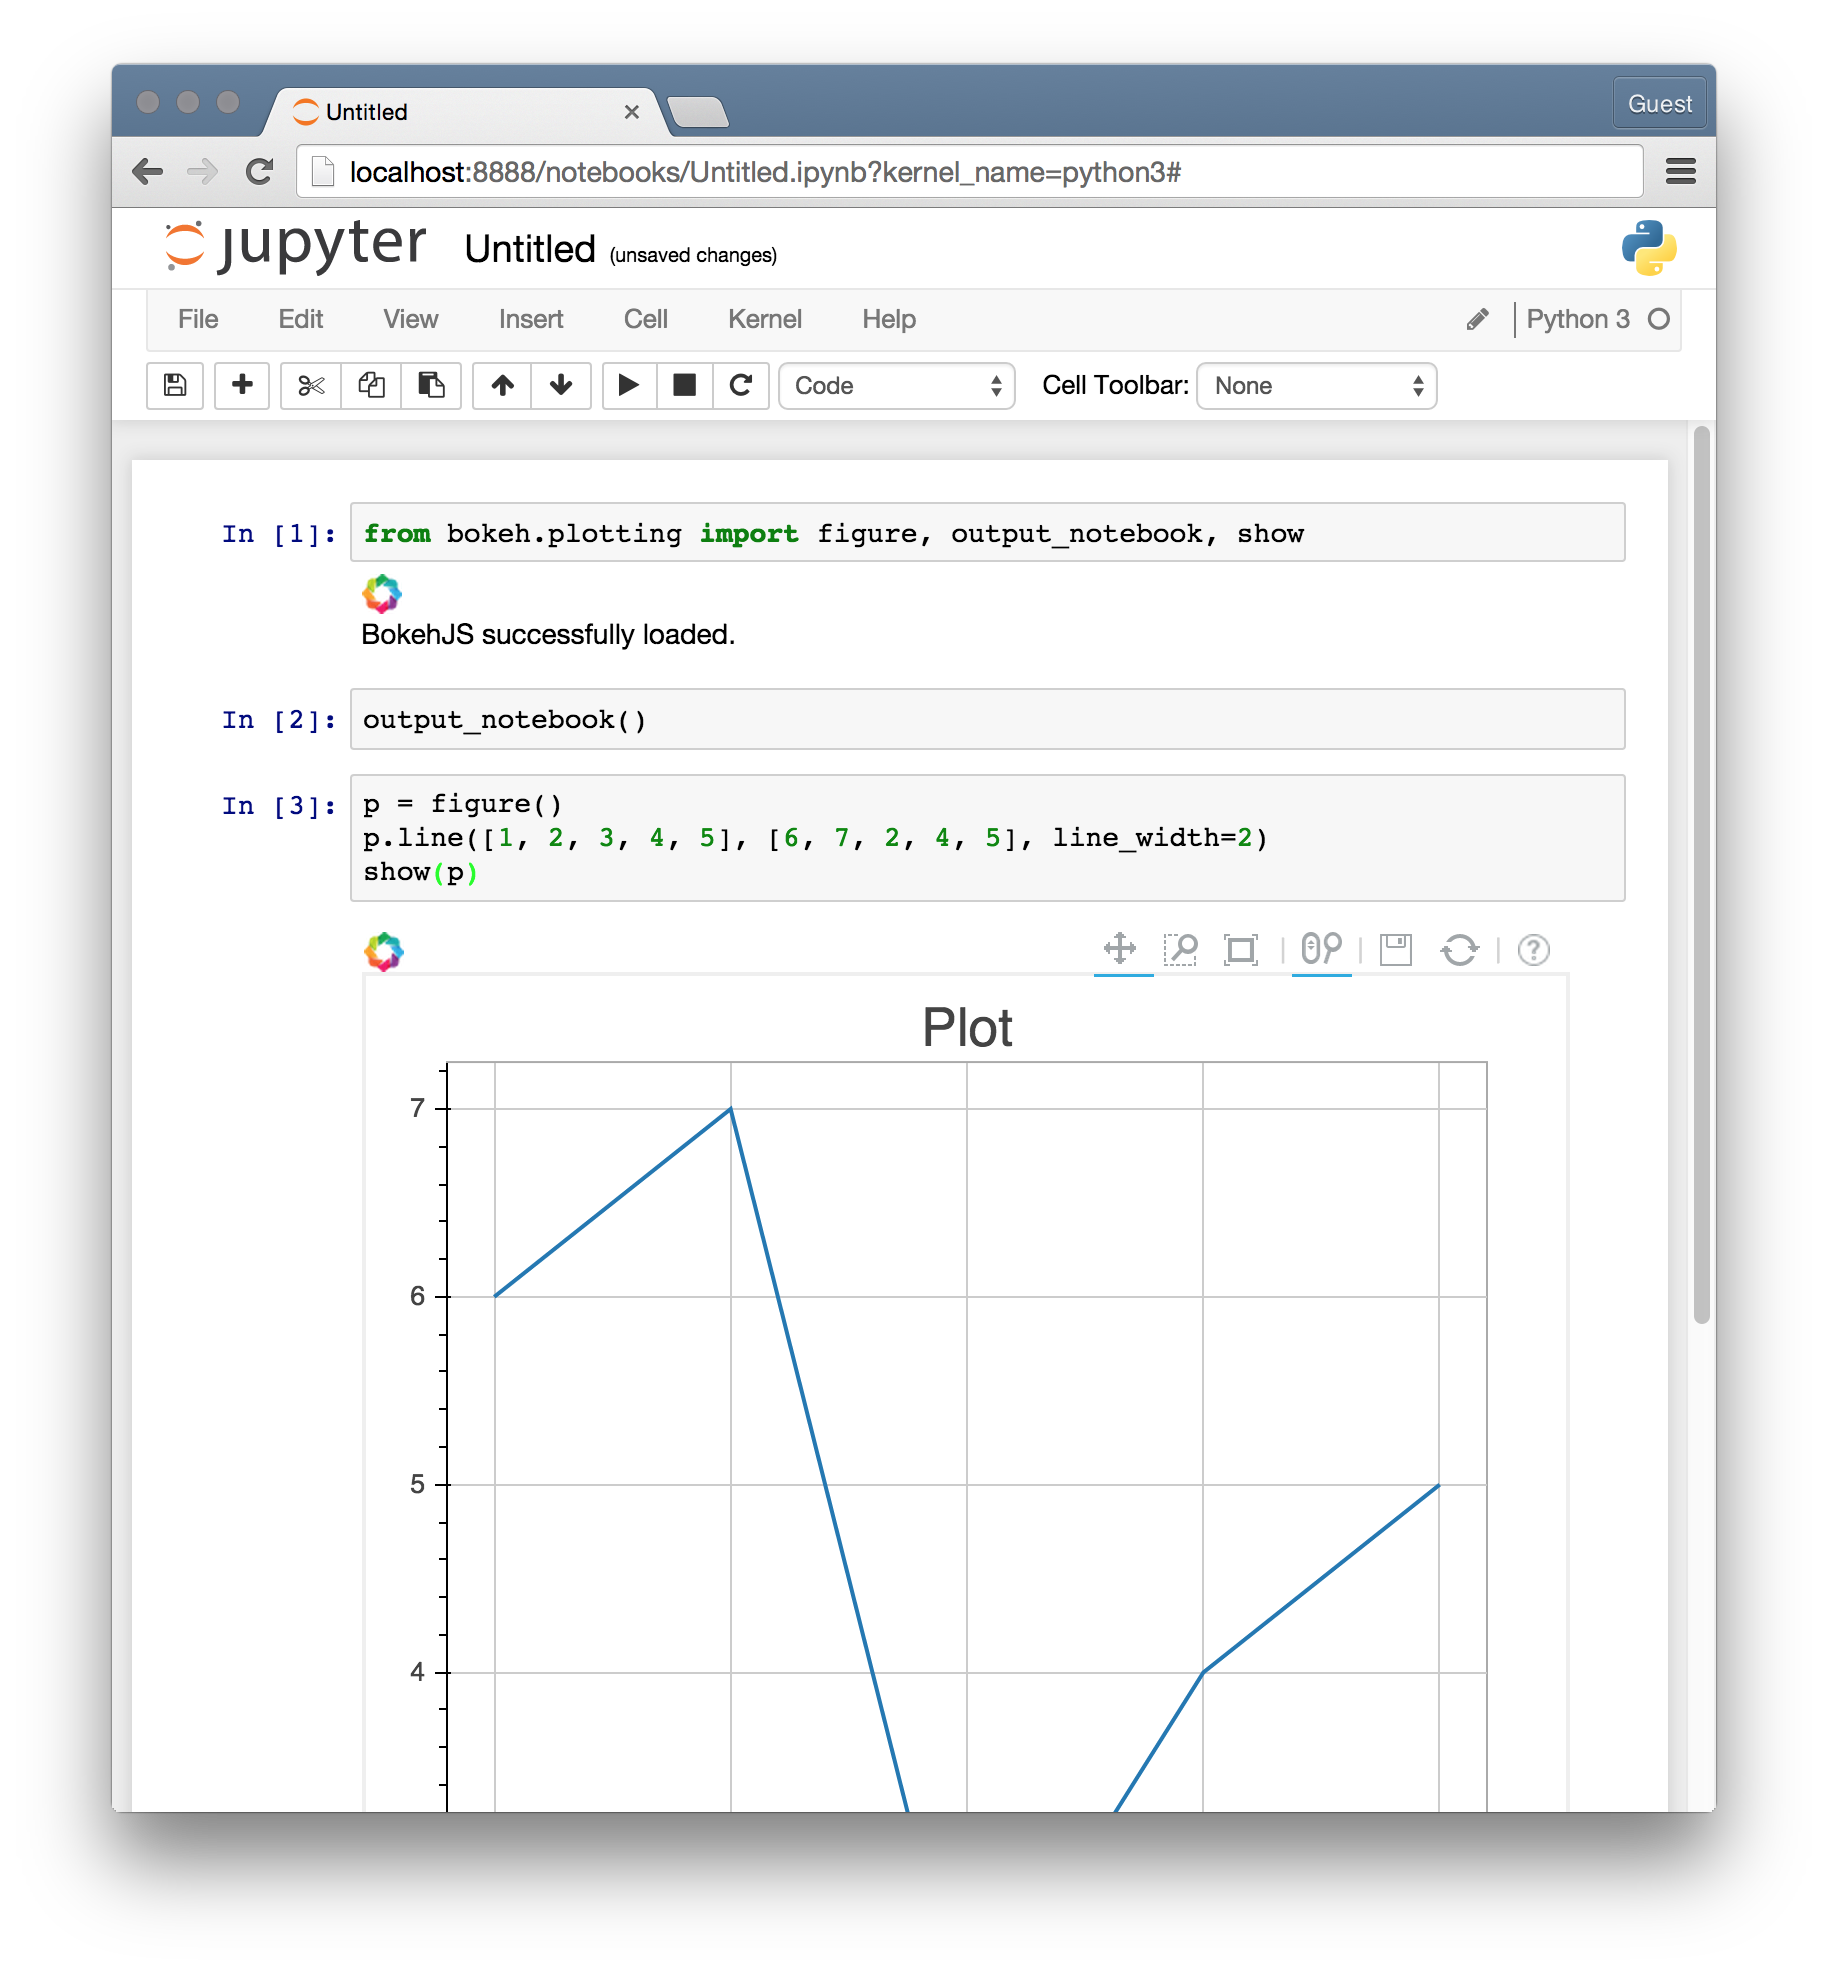
You can also test your Bokeh installation in an IPython/Jupyter notebook.
Execute the lines of python code in the notebook, except with output_notebook instead of output_file. You should see results like:

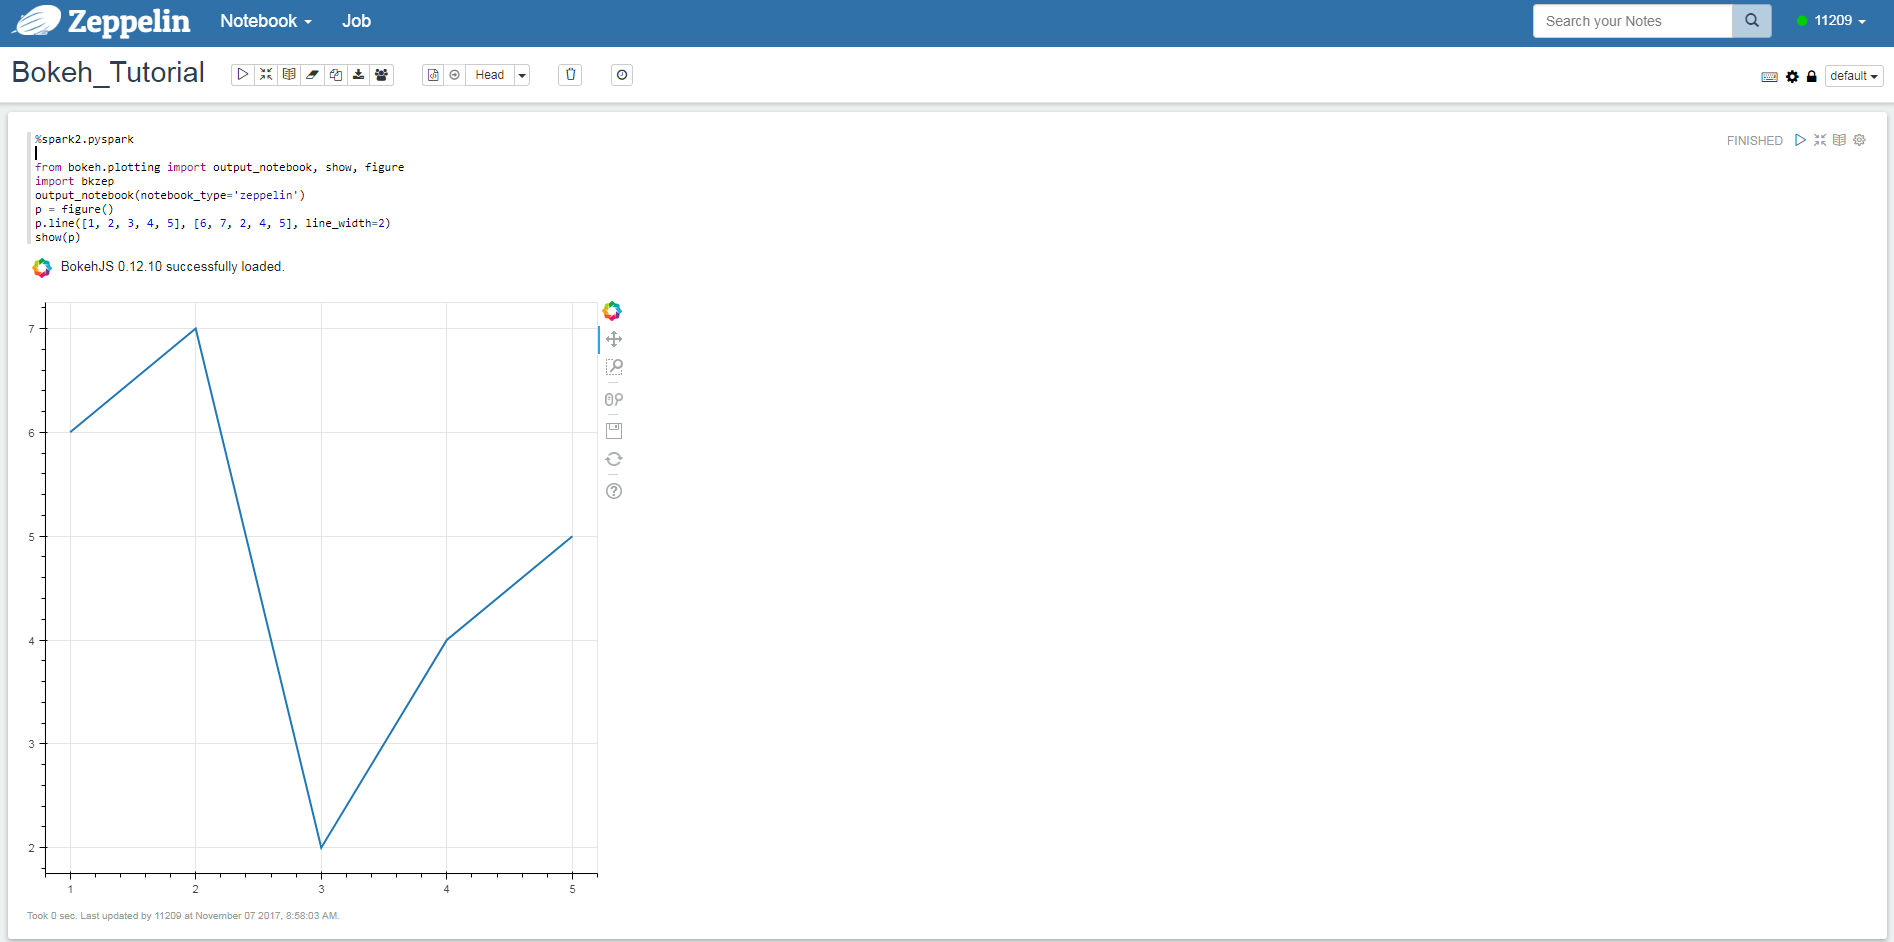
You can also test your Bokeh installation in an Zeppelin notebook.
Execute the lines of python code in the notebook, except specifying notebook_type
as zeppelin in method output_notebook. You should see results like:

Finding Help
If you are having problems either with the installation or with running the basic example code above, please ask for assistance on the Bokeh mailing list or submit an issue on the Bokeh GitHub issue tracker.
